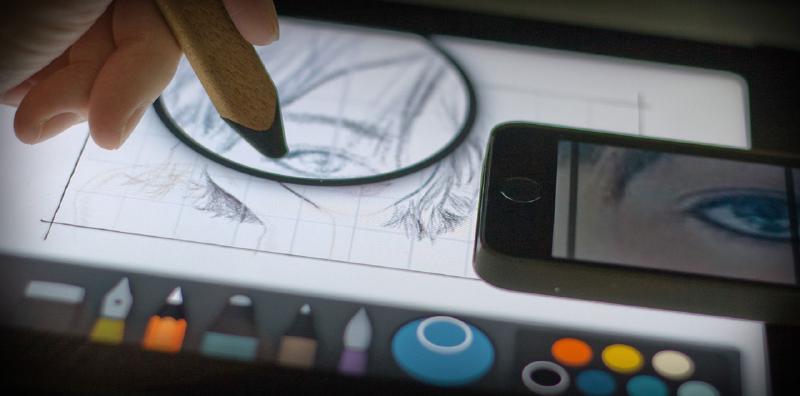
Grid method of drawing
A question I receive often is “how do you create such accurate line drawings in your Paper portraits.” The short answer is practice… about 1,460 hours of practice. The longer and more helpful answer is, there are several techniques I use to achieve life-like drawings — one of which I’m going to share with you now.
Why use the grid method?
If you’ve ever taken a basic drawing class there’s a good chance you were introduced to the grid method. Teachers use it as a way to strengthen observation skills and help overcome left brain roadblocks beginners often fight against. It may not be the ideal tool to use with Paper by FiftyThree, but for those who struggle with drawing it can build a solid foundation for you creations.
Drawing the grids
Drawing grids is boring and tedious work that can add a hours to prep time. A fact that I experienced when I first made the jump to drawing realistic portraits with Paper by FiftyThree. I’m not trying to scare you off from using this method, just be prepared to invest time into creating straight and evenly spaced lines.
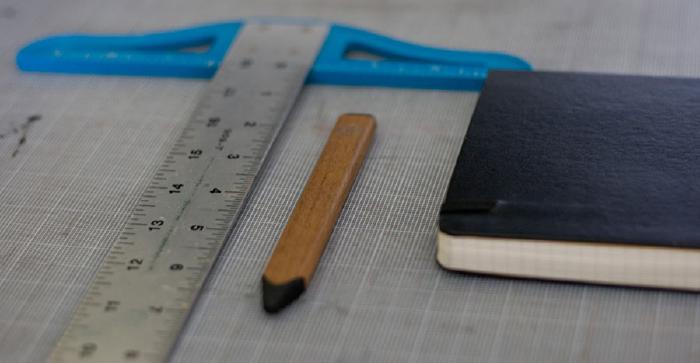
To start you’ll need a ruler and a stylus1 to measure and draw straight on the iPad’s screen. Next you’ll want to determine the size of your grid. If you plan to use the entire iPad’s screen and cover the canvas, a grid in ½ or 1″ increments2 works out well.
Using a T-square can speed up the grid making process, just be careful not to press too hard on the ruler so it touches the screen while you draw. Doing so can interfere with the iPad’s touch sensors and you’ll struggle to register a mark.
If you don’t have a T-square you can use a ruler to help place a dot every inch (or whatever increment you deem appropriate). Next you’ll want to slide the ruler down parallel to where you drew the first row off dots and make another set.
Switching to a straight-edge3 you’ll use the dots as guides to draw straight lines parallel to each other. Because iPad styli aren’t that precise, it can take some practice placing a line where you want.
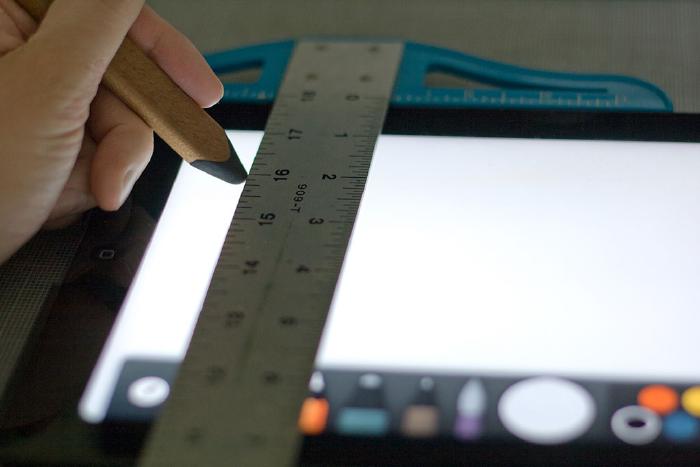
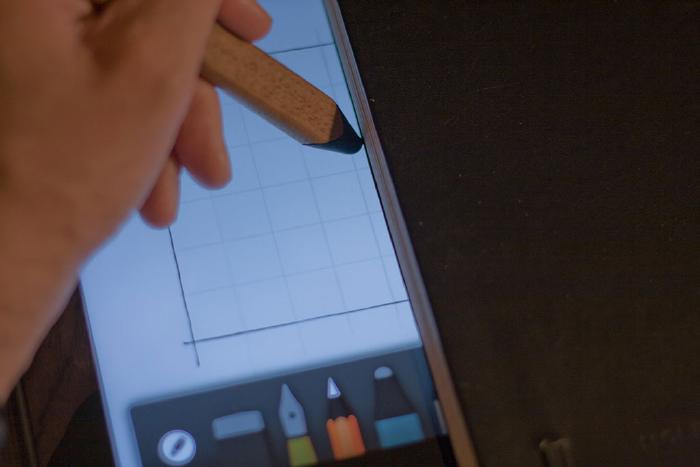
Take your time drawing lines as accurate as and as light as possible, it’ll make your life easier later — trust me. Once you’ve drawn all the horizontal lines repeat the process for the vertical lines, intersecting them as you go.
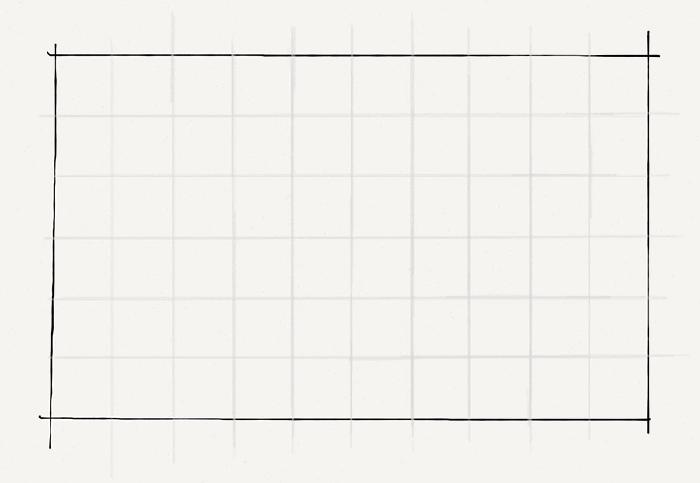
With the hardest grid complete you’ll do the same thing to your reference photograph. The size of the grids don’t have to match, just make sure they are proportional and share the same amount of lines.
Grid making shortcuts
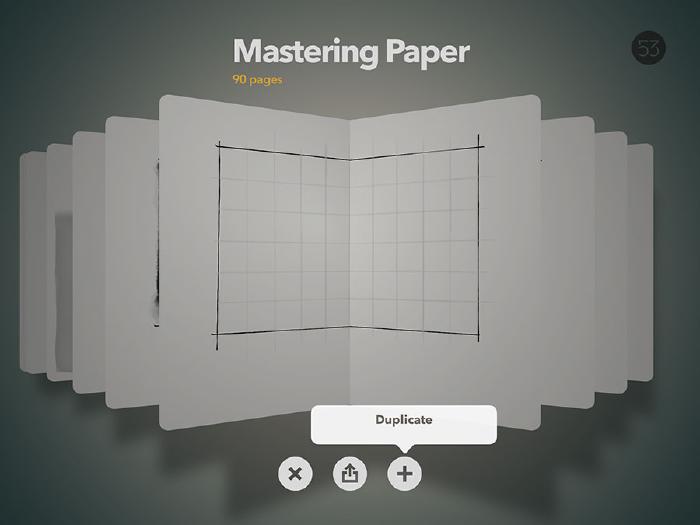
In case you didn’t know, Paper by 53 has the ability to duplicate pages. If you took your time drawing a perfect grid you can use it as a template of sorts and copy it each time you need it.
To duplicate a page, pinch it to zoom out to journal view, and then press and hold on the + button until the Duplicate option appears.
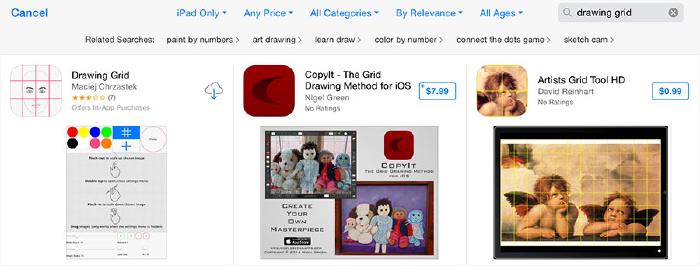
You can cut the amount of time spent drawing grids on your reference photographs as well. You can use grid apps4 found in the App Store, use something like Adobe Photoshop or Illustrator to overlay a precise grid, or draw it once on a sheet of transparent acetate to place on top of your photos without having to draw a grid each time.
Drawing with the grid
With the finished grids you’re ready to begin creating your line drawing. Pick a box to start with and focus on drawing the shapes and contour lines you see. Keep it light and use the pencil tool to mark the edges.
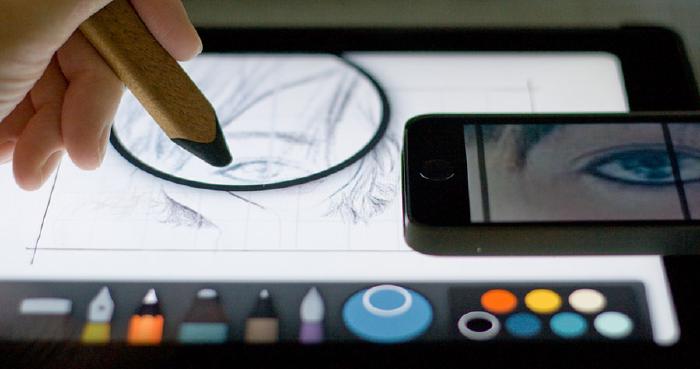
You can certainly shade and paint each box as you go, but it’s pretty hard to keep everything looking harmonious — especially with the watercolor brush. Matching colors becomes difficult as you bounce around the grid, so I suggest working in grays if you plan to use this method to create a finished drawing.
Removing the grid
Here comes another drawback to the grid method. If you thought making grids was time intensive. Wait until you try and remove them from your drawing.
My preferred method of getting rid of the lines is by dabbing the eraser over them. Remember, the quicker you tap, the smaller the dot and more organic it will appear.
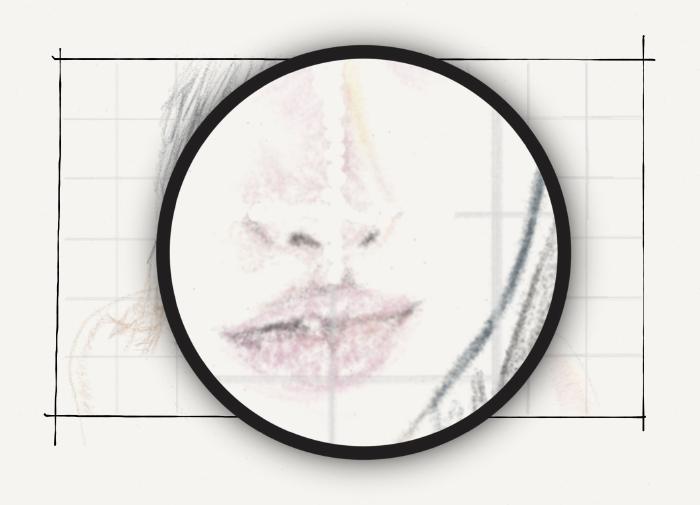
Depending on the complexity of your subject, using your finger to Blend away lines can produce nice results. It works best on lines that don’t have a lot going on around them, just in case you smudge too much — less you have to redraw later.
Next steps
You may have to redraw lines depending on where the grids fell. Use a matching color and lightly pencil in any lines you partially erased. For those areas that have ghost lines you can cover-up or lighten them using hatch strokes and an appropriately colored pencil.
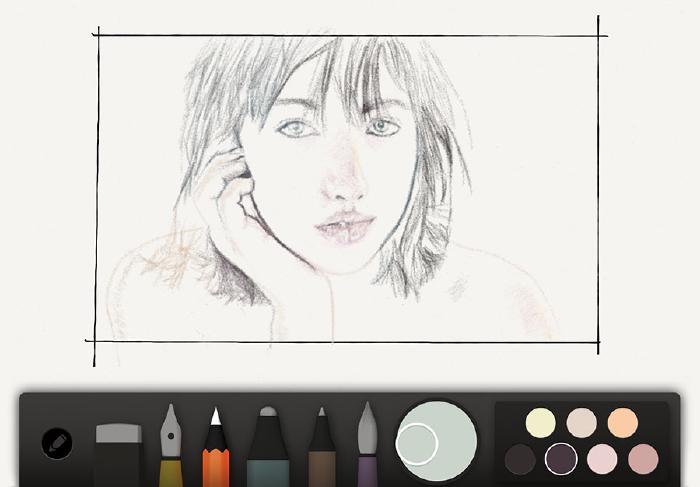
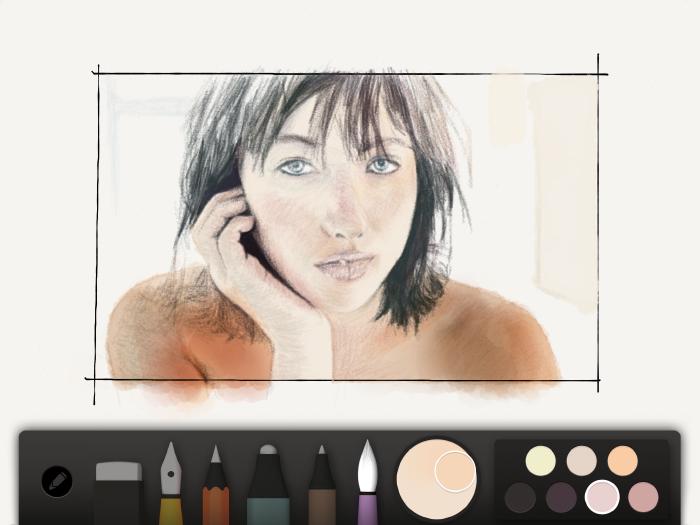
Using this outline you can proceed to draw, ink, or paint on top of it. In my Drawing Skin and Faces guide I cover all the ways I use pencil and watercolor to achieve realistic results.
With practice you won’t need the grid anymore and can rely on simple freehand sketches instead. Take a look at my PaperFaces drawings from beginning to end if you want proof of what practice and determination can achieve.
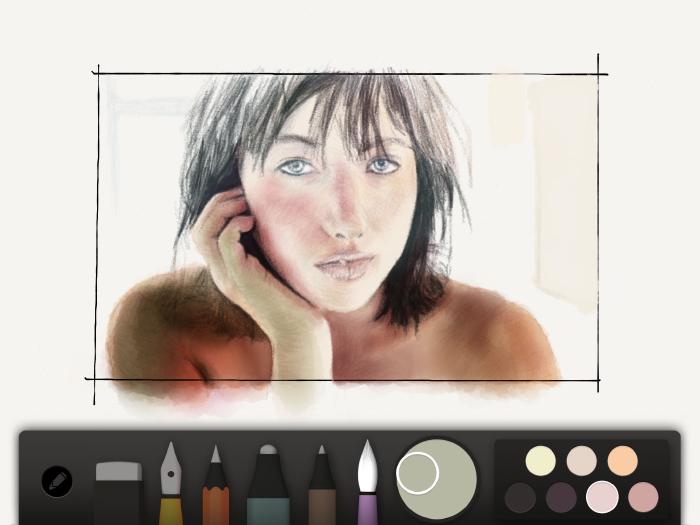
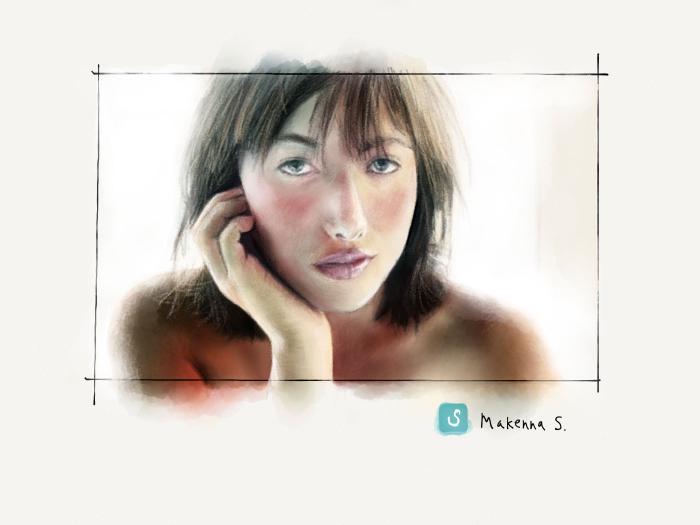
As always, hit me up on Twitter or in the comments below if you have a question or need further clarification on the process.
I like to use FiftyThree’s Pencil for drawing lines with a ruler. The rubber tip is thinner than some other styli and has the added benefit of palm rejection to avoid leaving stray marks on the canvas. ↩︎
A full-size iPad’s screen is a little over 7.5″ x 5.5″, so working in 1/2″ increments divides up nicely with room to spare if you want to label the grid in the margins. ↩︎
You could use a ruler as your straight-edge, but I find that something like a book is thicker and makes lining up the stylus easier. If you do use a ruler avoid the ones with a cork backing, it can interfere with multi-touch and make triggering touches with the stylus’ tip difficult. ↩︎
Drawing Grid is a free iOS app that gets the job done if you can get past the awful and confusing UI. A couple others I found but didn’t test where Artists Grid Tool and CopyIt. ↩︎
Made Mistakes is a participant in the Amazon Services LLC Associates Program, an affiliate advertising program designed to provide a means to earn fees when linking to Amazon.com and affiliated sites. For full details read the complete disclosure policy.
9 comments
Thanks for a great post.
I’ve been following Paper Faces for quite a while now. The skills you have developed over time are absolutely stunning. Thank you so much for sharing your drawings and for showing us how you do it. Great job!
Best regards from Germany
I randomly stumbled onto your site from a Jekyll template design. And being a long time user of Studio 53 Paper app this was great to see. Especially since I’m like 1 of the 100’s of people that have requested grid-paper options on the paper apps customer-service system. But this is amazing, now I need to get a t-square as trying to just use a ruler is poop.
Nice! I love Jekyll.
Add me to the list of those wanting support for native grids in Paper. It would be even better if the grids were on their own layer and you can toggle them on/off.
You might have better luck taking a piece of cardboard and cutting your own T-square. I had a lot of problems using metal and plastic ones I have laying around the house. They either slide around too much on the iPad’s glass screen or they register as a touch and won’t let you draw on the screen at the same time.
I would love to see an import option with this app… Still it’s a very nice app
Michael, forgive me if you already know this trick BUT: once you have your grid finished, you can export it to your camera roll and then import that grid image into new drawings. You can make your drawing over the grid as you normally would, and when you are finished, delete the grid. When you delete an imported image, it just goes away without changing anything you drawn over it- so you don’t have to erase it through your drawing.
Thanks Eric. I wrote this way before you could import images in Paper. Things are way easier now since you can just import a perfectly drawn grid image or even use the Think Kit tools.
Michael, I am particularly fond of how easy it is now to remove a grid once I’m done with it.
I can’t find out to get it out of landscape mode. Are that mode locked.