Getting lost in the drab
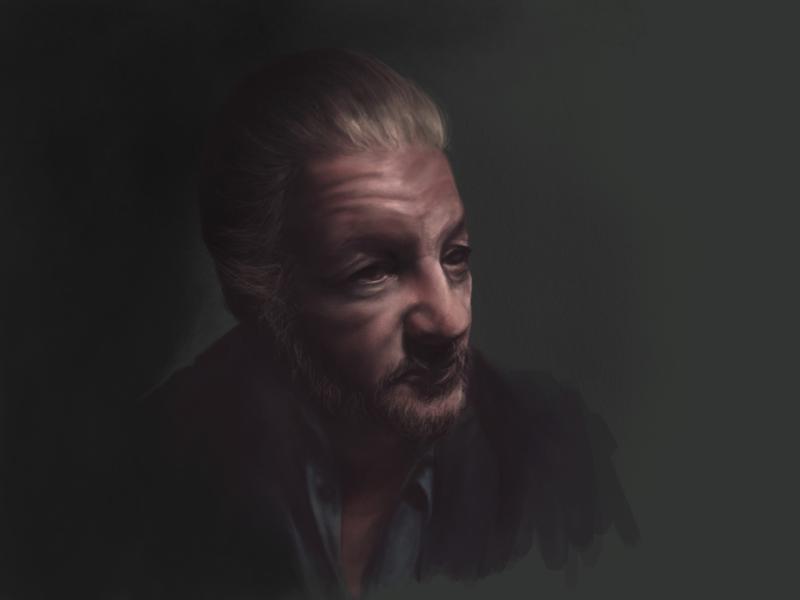
Portrait of Mr. Allan inspired by a photograph on Sktchy. Digitally painted with Procreate on an iPad Air 2.
After promising myself I’d someday return to Procreate, it was the announcement of the iPad Pro and Apple designed Pencil that got me back in the game.
Not impressed with my early flirtations with Procreate I decided to read the entire manual1 to familiarize myself with the app. Armed with a better understanding of all the tools and their possibilities I dug in, determined to make the app work for me this time.
Once I modified my workflow slightly from what worked in Paper by FiftyThree I started to enjoy the app more.
Where I struggled originally was applying the right customizations to my brushes to tone down the oil paint feel of the default brushes. As a heavy Paper user I grew accustomed to pencil and paint strokes behaving in a certain way, and Procreate was pretty much the opposite of that. Modifying brushes to paint as glazes was a huge help, allowing me to layer up tones instead of smearing opaque color around.
time-lapse video recorded within Procreate.
Now if I can only figure out how to replicate the watercolor and pencil look I took for granted with Paper…
Tools used:
Available for free download in Apple’s iBook store. ↩︎
Made Mistakes is a participant in the Amazon Services LLC Associates Program, an affiliate advertising program designed to provide a means to earn fees when linking to Amazon.com and affiliated sites. For full details read the complete disclosure policy.