Drawing outer space with Paper
Drawing the night sky, stars, galaxies, planets, and other celestial bodies is a ton of fun with Paper, the iPad app by FiftyThree. Much like drawing blue skies and clouds, it is hard to screw them up if you follow a these simple guidelines.
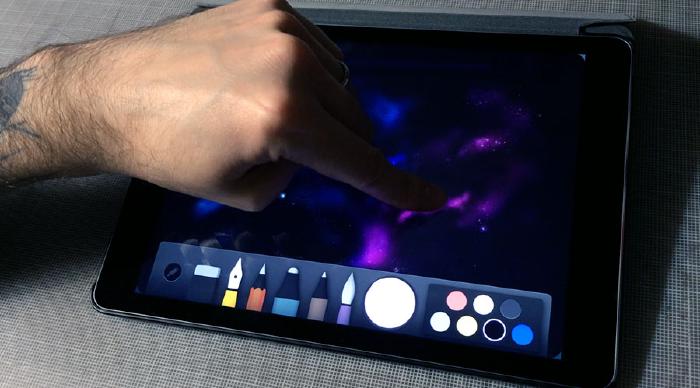
In this tutorial I’ll walk you through my process of how to paint an outer space scene using your fingers. Then, I’ll demonstrate how to paint a similar scene using FiftyThree’s Pencil stylus. Taking full advantage of Surface Pressure and Blend to pull off some great effects.
Oh and I’m trying something different with this guide. I’ve toyed around with short videos before, but this time I’m including two that can stand on their own as full blown tutorials. Editing together footage shown from two different angles, each video documents the entire drawing process from start to finish.
Both videos are fully annotated1 with notes and tips throughout, so be sure to watch directly on YouTube for the best experience. Don’t worry, for those of you who learn better with pictures and text I’m still including all that detail below — just scroll past the videos that begin each section to jump ahead.
And with that let’s get started.
Painting outer space with your finger
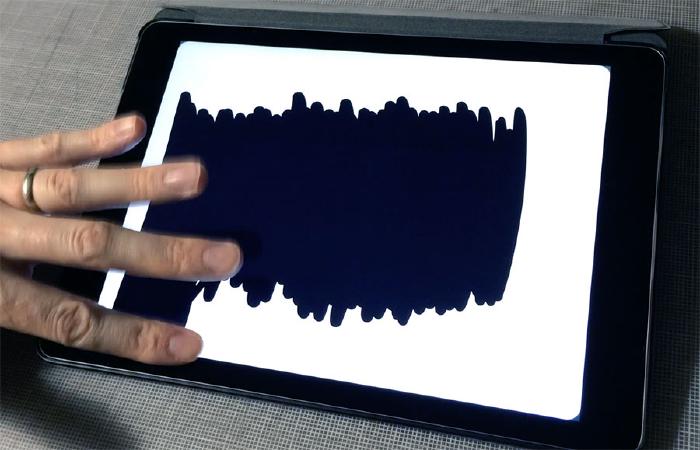
Cover the canvas
Start by covering the canvas with a dark color. For this technique to work properly you need to draw it in manually. The page fill “shortcut” has some limitations with how colors are applied to it that won’t give the effect we need. To learn more about why that is, be sure to check out my guide on Paper’s Color Picker.
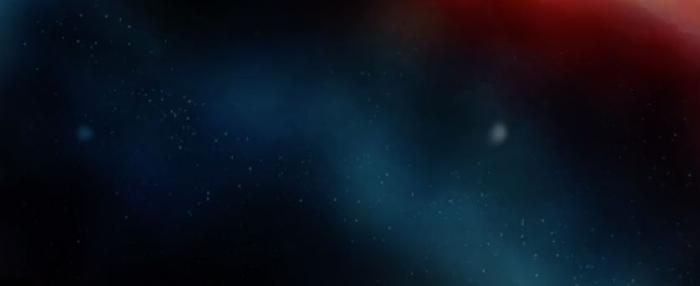
Star clusters and flow
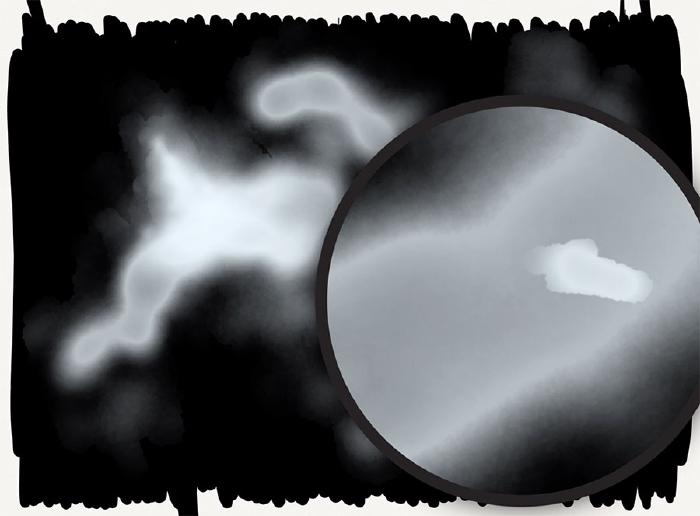
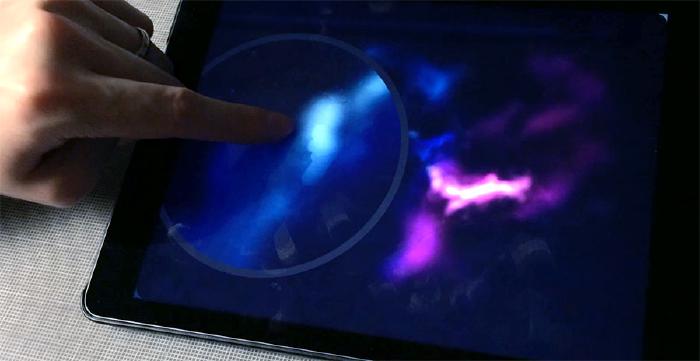
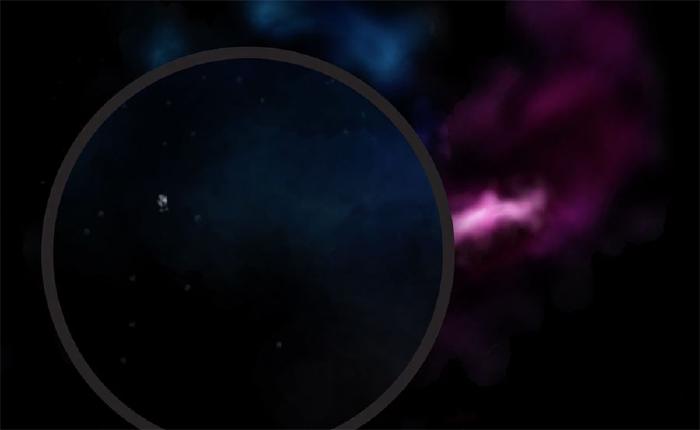
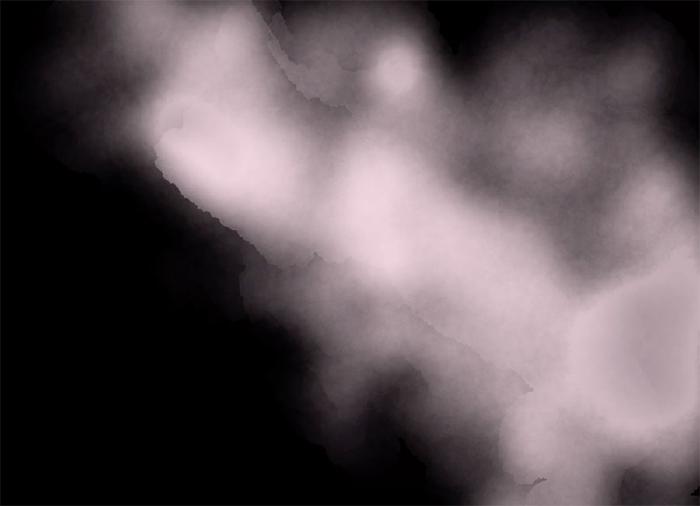
Use white or a tint to lighten the dark background and lay the ground work for the composition. Using a photographic reference helps, but you can free-form things and just let things unfold organically as you glide your fingers across the canvas.
To create smooth tones keep your finger on the screen and use circular motions to soften the edges. The goal is to avoid leaving harsh edges as much as possible.
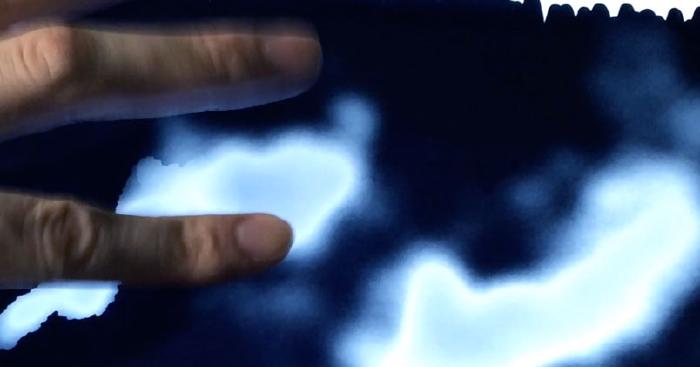
Move slowly to define the shapes and faster around the edges to blur them. For areas that are dense with stars apply multiple layers of white to brighten them up.
Blue glazes
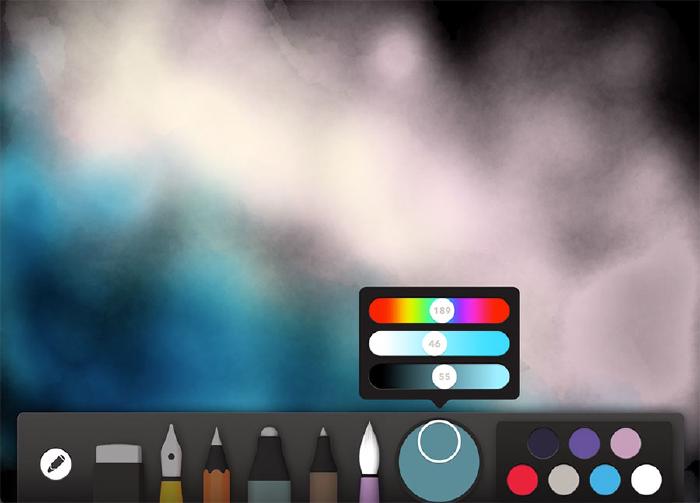
Starting with a light blue color, apply a watercolor glaze to the left side of the composition. You don’t have to worry about being precise since it will only show on the lighten areas painted with white. Because we filled in the background with black earlier, any color that happens to bleed won’t be visible.
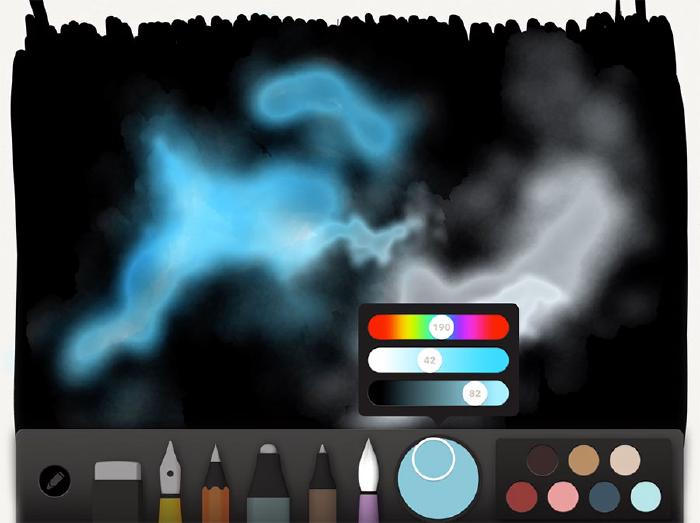
When glazing with the blue color, the same technique used when painting with white should be observed. Keep your strokes controlled and smooth. Move your finger slowly across the screen making sure not to lift it off the screen for more than a second. Doing so will indicate to Paper that a new stroke was made and you will see a visible seam between the values.
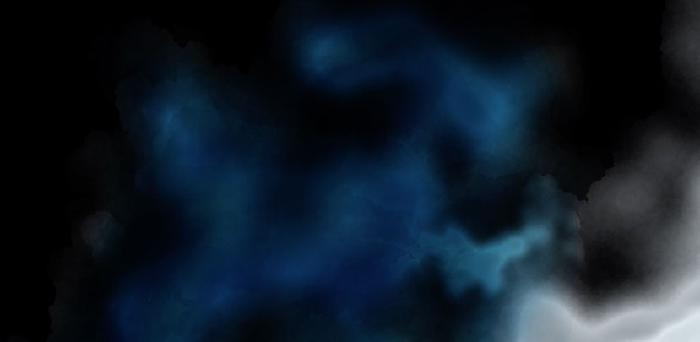
To create the illusions of depth, add more glaze layers towards the outsides of the shapes. This will aid in creating clusters of stars later by leaving bright pockets of light near the centers.
Feel free to adjust the blue color’s darkness by moving the color sliders around. Don’t go too far with it though. Multiple layers of lights generally look better than a single dark layer.
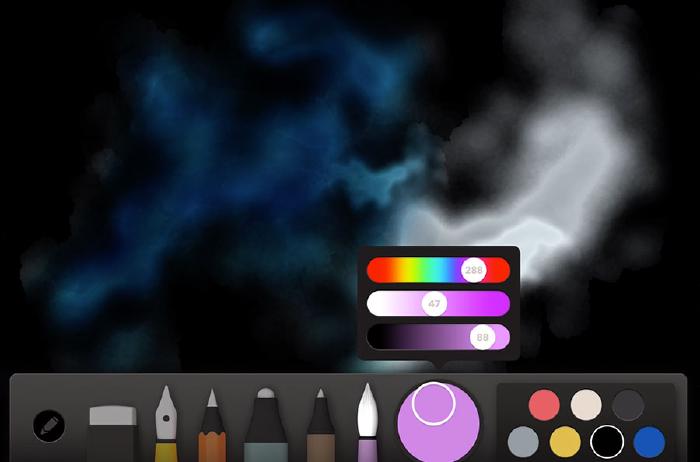
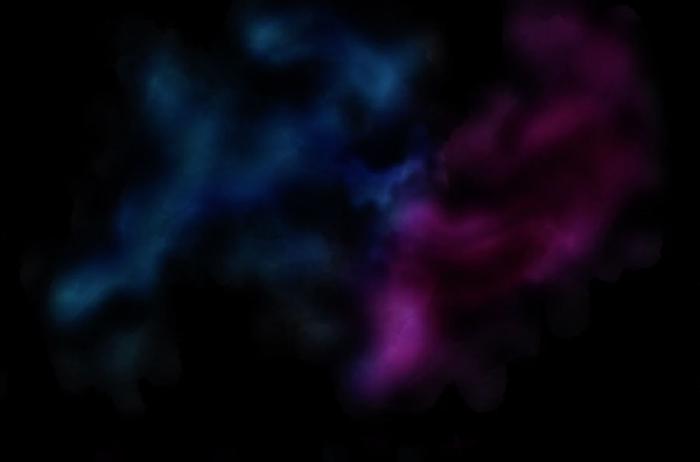
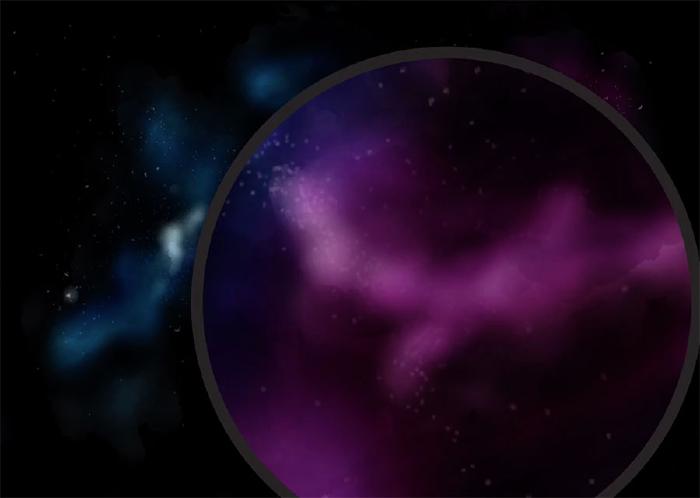
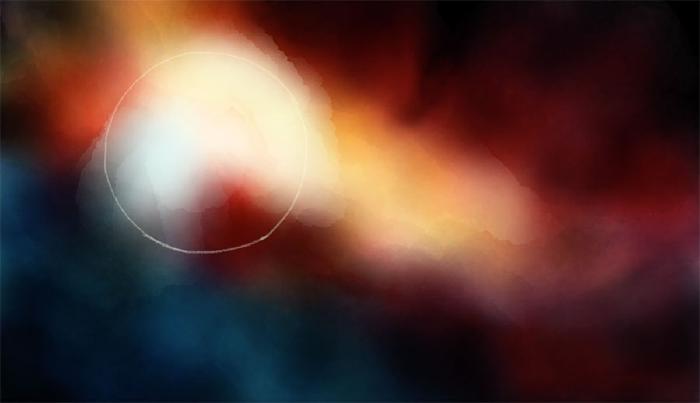
Fuchsia glazes
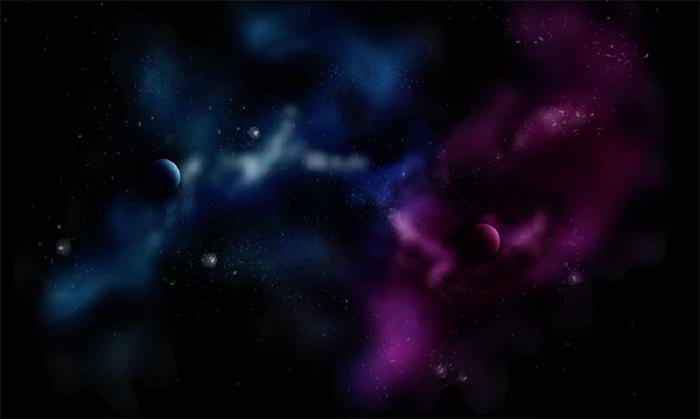
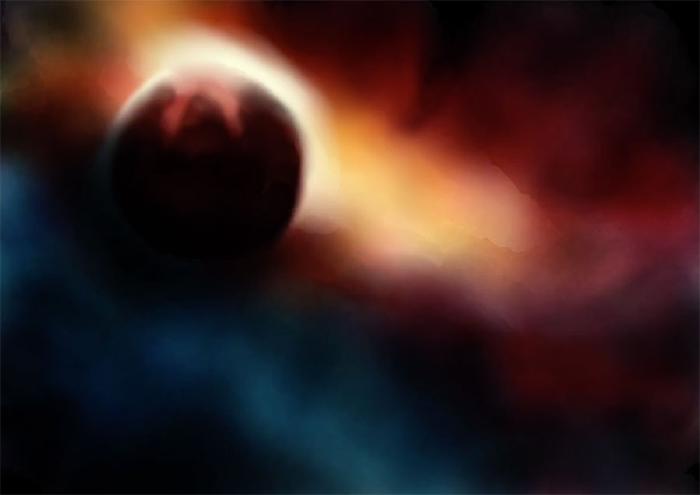
Repeat the exact same process on the right half of the composition now, this time using a fuchsia or violet hue. When you finish you should have something that vaguely resembles the following.
If things went too dark mix a tint of blue or fuchsia (depending on where you want to lighten) and dab your finger quickly to recover some brightness. Use your best judgment and correct as needed. There may be some back and forth needed between tints and darks to get the gradients looking just right.
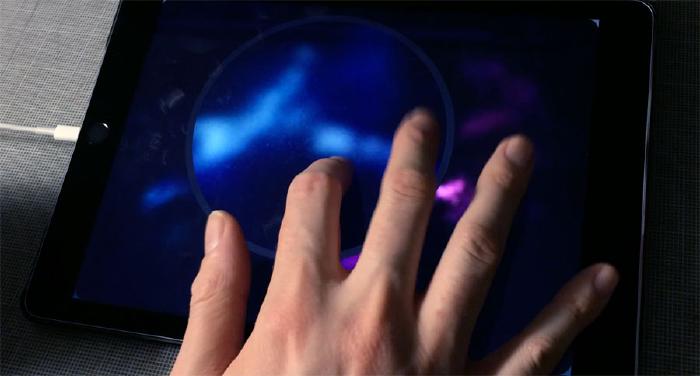
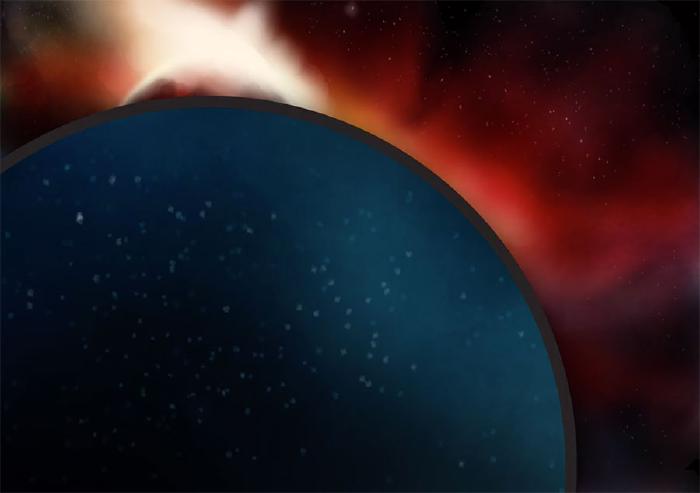
Placing stars with your fingers
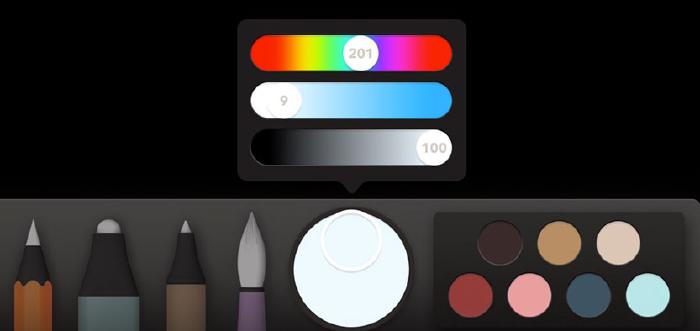
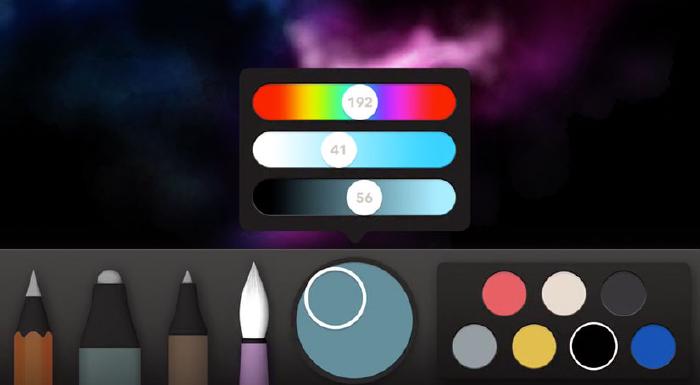
Now begins the tedious process of placing stars one by one. I like to start with a medium to dark color that is in the family of the area I’m placing them. Starting on the blue side first we’ll want to mix up a star color that is… bluish — what a shocker! Using Paper’s Color Picker makes things so much easier. Just sample a blue spot you painted earlier and then manipulate the sliders to get the intensity right.
Try to use your fingertip with a controlled tapping motion. If you strike the screen and drag your finger at all, a small streak will appear instead of a dot. If this happens use the Rewind gesture to undo any mistakes.
The more stars you add the more pronounced the effect. Varying the size of the stars and bumping up the brightness as you work helps as well. I strongly suggest using just the pencil tool and avoiding the pens and marker. The pencil is semi-transparent and in my opinion looks more natural than the others.
Tapping in the same spot a few times is an effective way of brightening a star. Using your finger tip isn’t that accurate so it can take a few Rewinds to get the placement just right.
As before, when you move over to the fuchsia and violet half of the space scene, select matching star colors. Glazes can be applied to darken clusters of stars further adding to the realism — the same goes for using white to lighten. There really is no right or wrong way to approach it, so feel free to experiment and find what works best for you.
Stars that may have gone too bright can be harmonized by painting over with matching watercolor glazes.
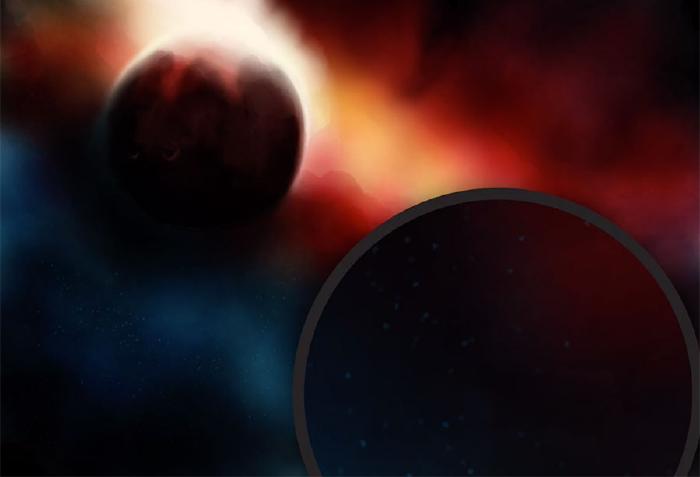
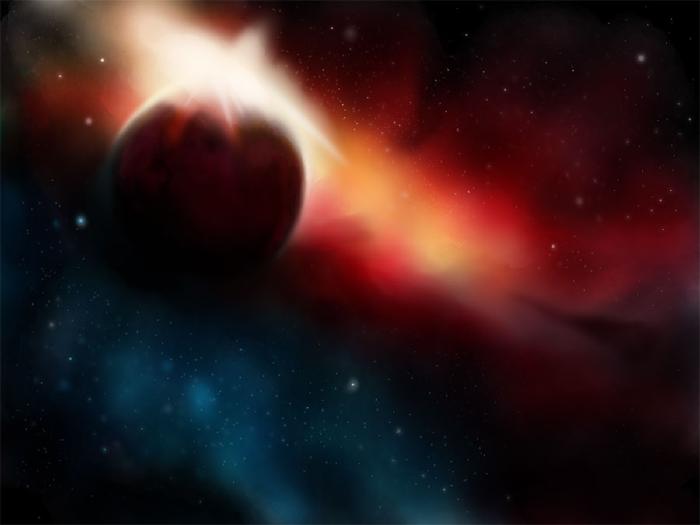
Two worlds
An outer space scene wouldn’t be complete without a planet or two, so let’s remedy that shall we?
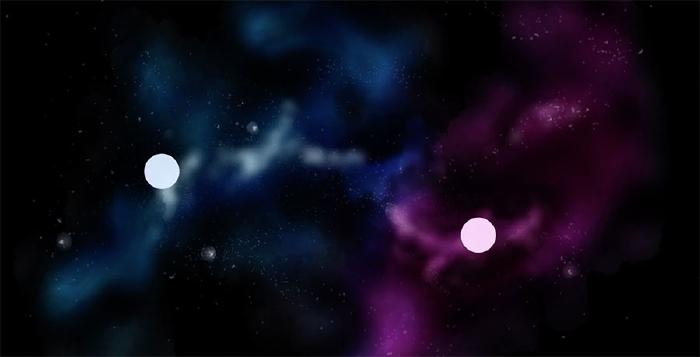
The hardest part of world building is deciding where to place the planet(s). Since I’ve cut the composition in half, it would seem to make the most sense placing a planet on each side.
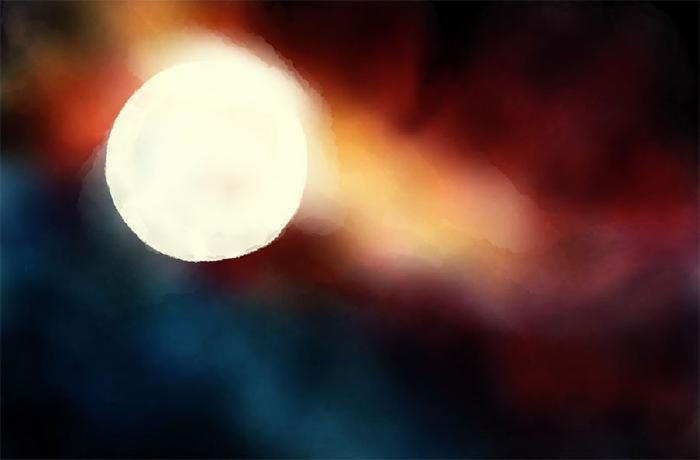
Pick a white or tint color and switch to the fountain pen tool. Then place your finger on the canvas where you’d like the planet to appear and hold it for a few seconds. The longer you press the bigger the dot gets.

After mixing a light color press and hold with the fountain pen to create a large dot.
I’m placing my first planet off in the violet section of space so I’ll want to mix up a similar hue. Using the watercolor brush, paint glazes over the white dot, gradually moving further and further away from one of the edges. In this example I’m moving towards the left to leave a highlight on the right side.
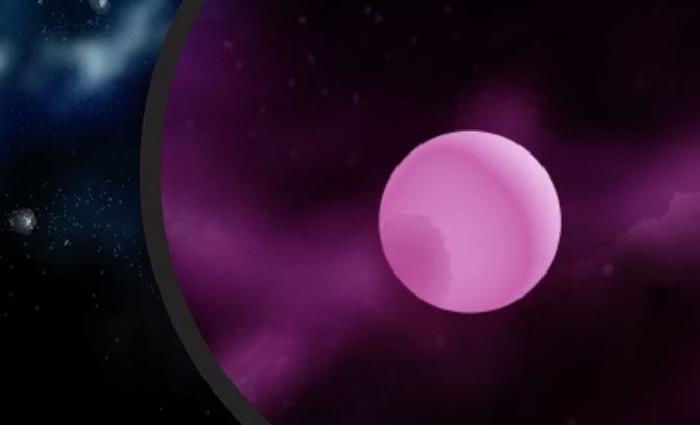
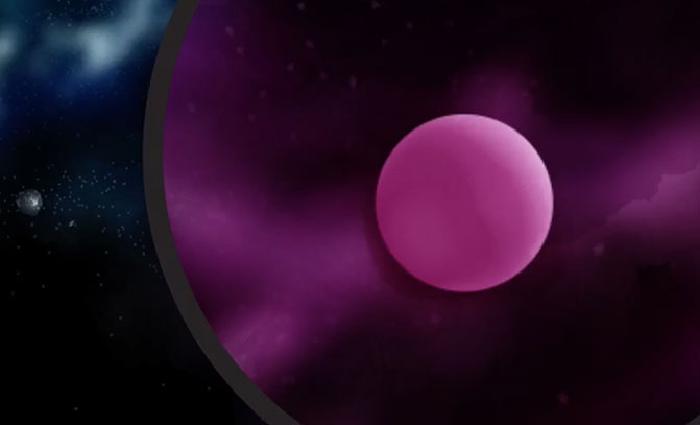
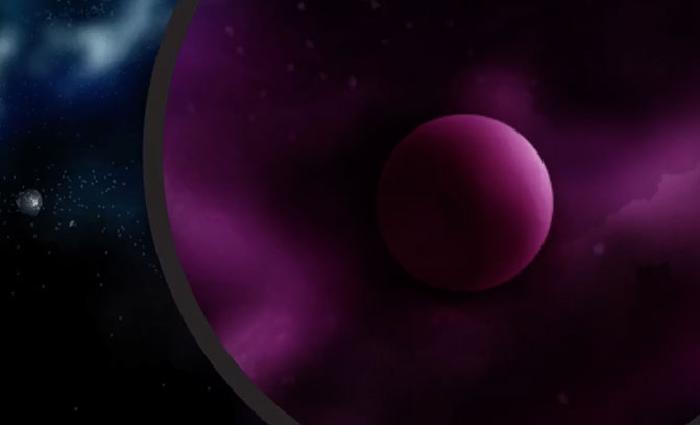
Continue adding glazes until one side fades into the blackness of space. To speed up the process increase the darkness of the color you’re painting with.
Once satisfied with the results repeat the process for as many other planets as you want.
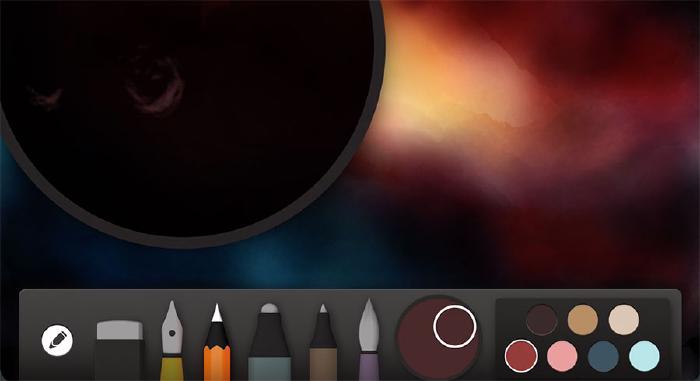
Painting outer space with Pencil (stylus)
Building on the same techniques used in the first half of this guide, I’m going to now show you how Pencil can be used to enhance and speed things up. For the most part you follow the exact same steps with a few embellishments to ratchet up the realism.
If you haven’t already paired Pencil with Paper do so now. I find it helpful to go into Pencil’s settings and turn off Blend2 until I need it. This avoids any unwanted smudges from appearing when not applying enough pressure with Pencil’s tip.
Covering the canvas part 2

Just like with the first outer space scene, you will want to cover the canvas in a dark color using the fountain pen or marker tools. By using the wide side of Pencil’s tip you can cover the screen much faster. The rubber here is more durable and doesn’t tear as quickly at the tip. Anytime you have the opportunity to draw with the broad side versus the tip — take it.
Building a background and star clusters part 2
I’m going to speed through these next set of steps since they’re exactly the same as before. The only difference being they will be done with the Pencil stylus instead of your finger.
Start by lightening the black using the watercolor brush and white or another tint color.

Add extra layers of white to brighten an area. The centers of the cloud like shapes are good locations for these highlights.
After you’ve lightened the background and are happy with the shapes created, decide on what color or colors you want the background to be. For this scene I think a rainbow-ish gradient with a bunch of colors might look interesting.
Starting with a light blue, apply glazes on top of each other to create smooth transitions from light to dark.
Remember to take your time with the watercolor brush and don’t be tempted to use too dark of a color. This isn’t a race!
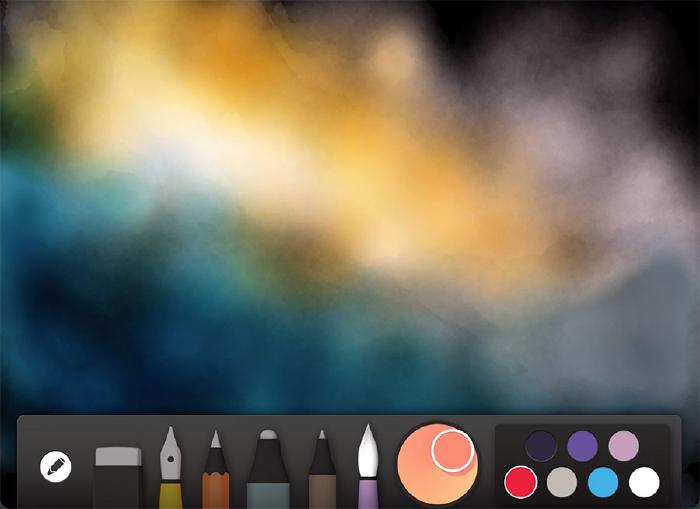
With the blue portion of the space scene laid down move into the yellow and orange colors towards the middle of the composition.
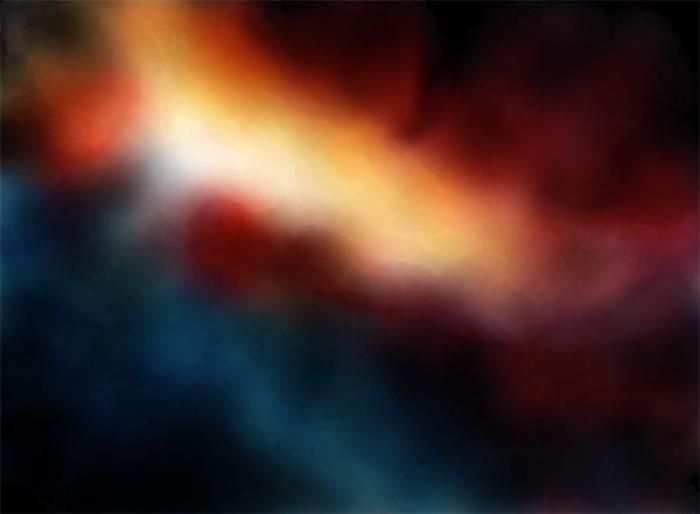
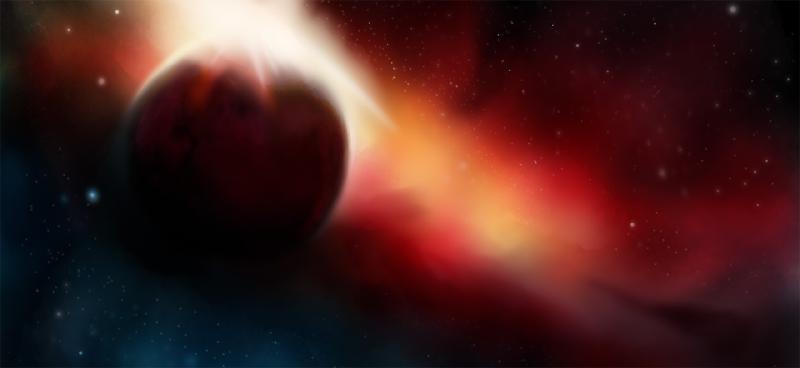
Finishing with red glazes towards the right half that blend seamlessly from blue to yellow to red.
Dropping in a planet
I’ve decided to place a medium sized planet towards the upper left corner. Because I’m opting for something larger the “tap and hold dot trick” used in the first drawing won’t work this time — it caps out at around an inch in diameter.
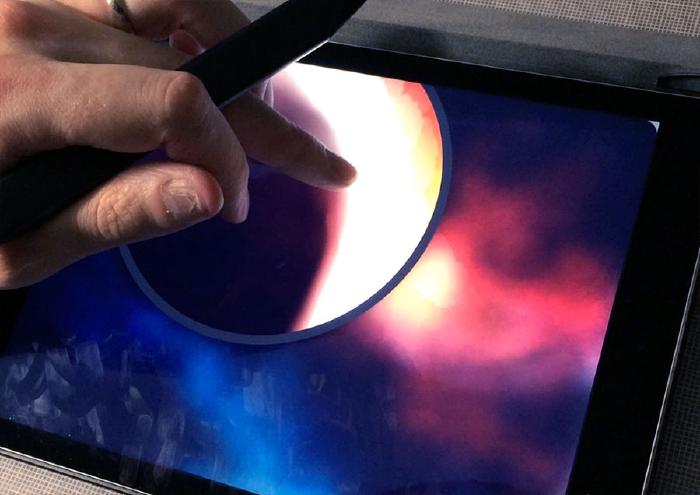
Since it’s pretty difficult to draw a perfect circle freehand I’m going to trace a cylinder. I just so happen to have part of a rotary cutter that is the size I need, so that’s what I’m using. The box that Pencil ships in is a good alternative if you don’t have anything else to trace.
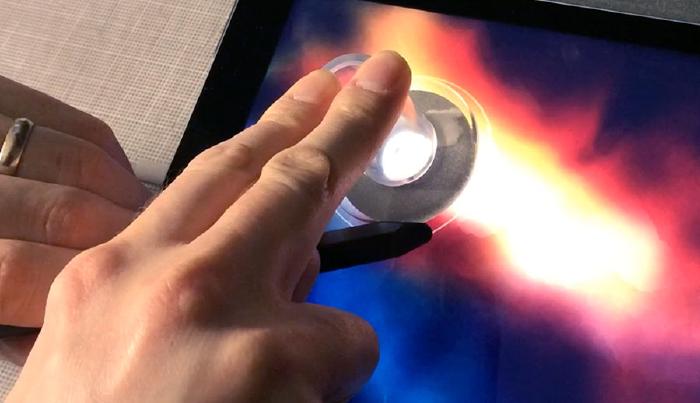
Placing the object directly on the iPad’s screen, carefully trace around its edge. It may be hard to match up the lines exactly on your first go so just Rewind to undo until you get it right.
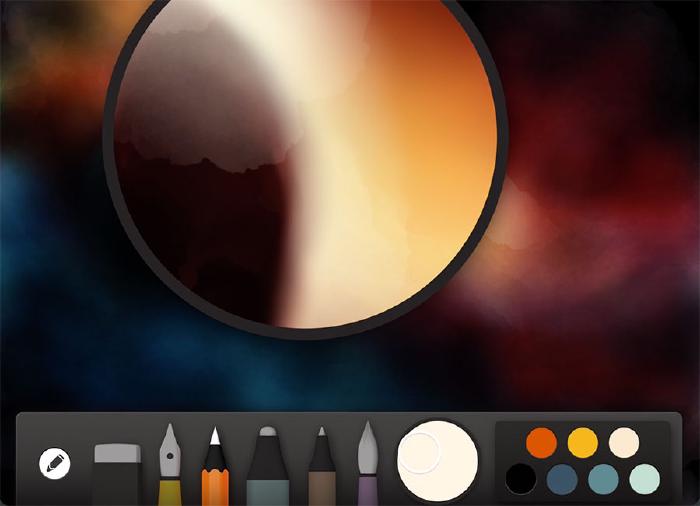
With the outline complete, use the watercolor brush with a white (or tint) to fill it in. It’s ok if your strokes bleed outside of the lines some, it adds to the glowing effect we’re trying to accomplish. Plus we’re going to lightly blend the edges anyways so any mistakes made now will be down played later.
Next decide on what color you want your planet to be and begin painting over the white fill. For my scene I choose to paint with a dull red, being careful to stay within the lines as not to distort the circle’s shape too much.
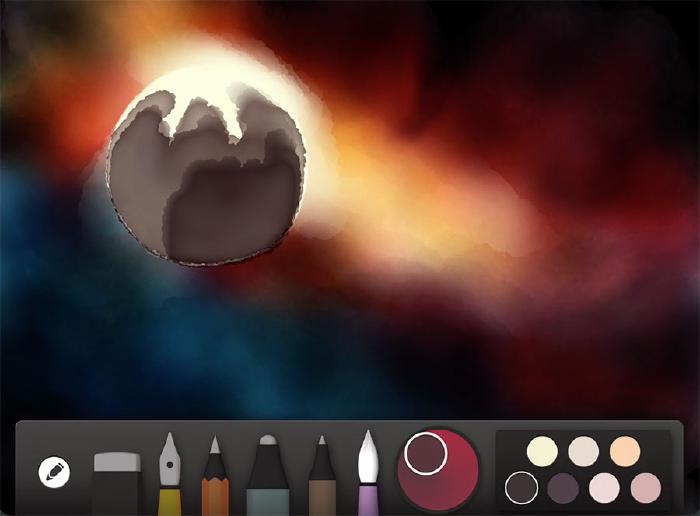
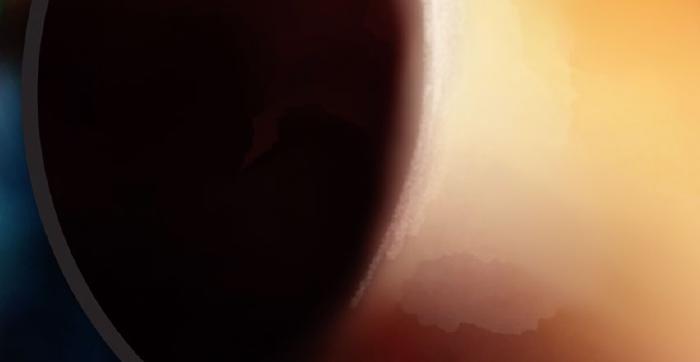
Using the same process as before, leave one of the planet’s edges exposed as you darken it. This will make it appear more three-dimensional as the tones are built up from light to dark.

I started to lose the shape of the circle because I was painting pretty fast. To correct it I darkened the lower left corner until it merged with the rest of the scene. Depending on what color the background is, these sorts of mistakes may be harder to cover-up.
Refining a planet
After you finish filling in the planet, now is a good time to modify Pencil’s settings and turn Blend2 back on (if you previously turned it off like I did).
Using the tip of your finger, quickly swipe along the planet’s edge in an arc like motion. This will blur strokes and colors at the edge while retaining the circle’s shape. With the right amount of speed you should end up with a something that resembles a glowing orb.
To correct any shape distortions that occur from smudging too much, paint in bursts of whites and darks over the problem areas. Repeating the painting and blending steps as many times as necessary. It helps to think of the colors on screen as pixels of sand that can be pushed around with your finger tips.
Detailing a planet
Because this planet is larger than the first set I painted, there’s plenty of room to sketch in craters and other textures. Use the Color Picker to sample the planet and mix up a lighter variation of it. With a color selected use the pencil tool to scribble in craters and holes, giving the planet detail. By flipping Pencil on its side you can use Surface Pressure to add even more detail with a grainy charcoal like texture.
I didn’t spend too much time detailing my planet, but that’s not to say you shouldn’t. Building off of the techniques used in my other guides, painting glazes on top of the penciled textures will further enhance the realism.
Tapping stars with Pencil
You guessed it, time to tap in a ton of stars again. Using a stylus like Pencil instead of your finger makes it much easier to accurately place hundreds of stars.

This first pass of stars is hard to see but that’s ok. As you add more stars, increase their brightness to help make them sparkle.
Just like before pick a star color that relates to your background. Start with a medium tone first and cover the canvas in stars before gradually using a lighter one. Save the bright star clusters for those light center spots — it will look more natural that way.
Star variations
Methods used earlier to vary the stars size and brightness are still fair game. If you’re using Pencil and have blending enabled, there’s a new trick available to you.
You may remember in the first part of this guide I cautioned against using the ink tools for making stars. Well if you blend ink dots with fast smudges they turn into glowing orbs. It’s a great effect that can add interest to the composition.
Just like earlier, star clusters can be lightened or darkened by glazing over them with the appropriate colors. If you do decide to lighten sections be sure to move fast as you risk going too white when lingering in one spot.
Two more things
There are two other techniques I wanted to share that felt out of place above so I’m dropping them here. These both require you to have FiftyThree’s Pencil stylus and the Blend feature enabled.
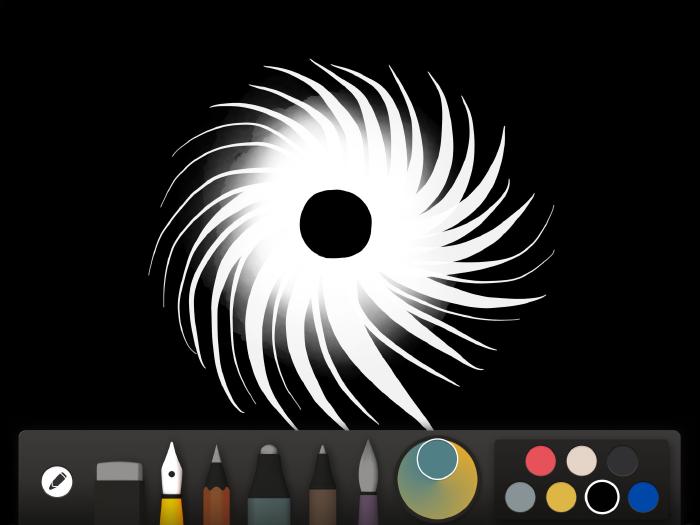
If you place strokes of colors on top of a dark background and then slowly smudge upwards, an effect that mimics the aurora borealis can be achieved.

A slightly modified approach to this technique can be used to create black holes. Instead of using slow upward smudges, you pull in a circular motion.
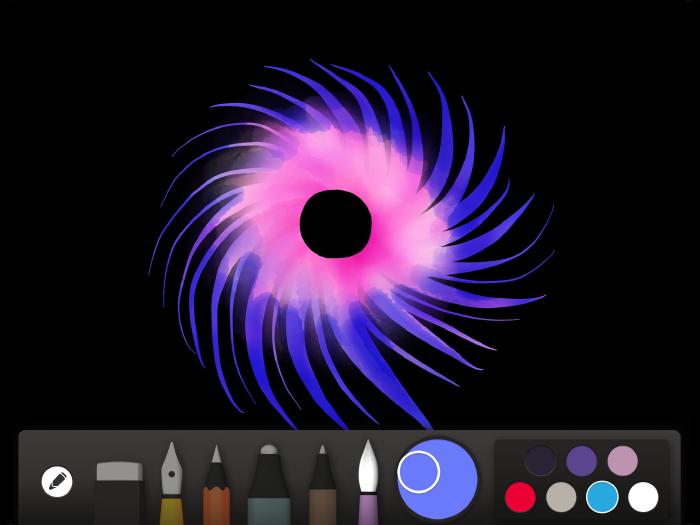
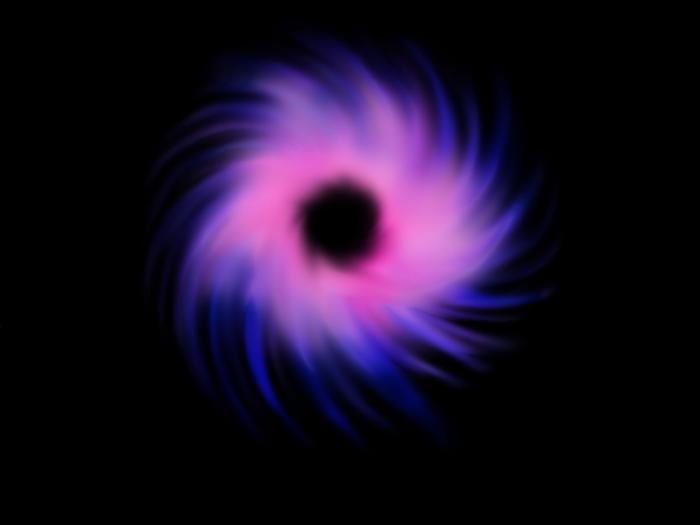
Obviously further refinement and the addition of stars needs to happen, but for five minutes of blend work it’s not bad.
Well I guess that’s about it. Since doing video tutorials is fairly new for me (and super time intensive) let me know what works and what doesn’t. The best way you can do that is by liking the videos, subscribing to my YouTube channel, and leaving comments. Thanks!
As far as I know YouTube annotations only appear on the actual YouTube.com website and not on mobile devices or from within the YouTube app. ↩︎
To turn off the Blend feature tap the icon in the upper right corner of Paper while in the journal view. Then tap Pencil > Finger and change the default behavior from Blend to Nothing. ↩︎ ↩︎
Made Mistakes is a participant in the Amazon Services LLC Associates Program, an affiliate advertising program designed to provide a means to earn fees when linking to Amazon.com and affiliated sites. For full details read the complete disclosure policy.
4 comments
Thanks for inspiring me Michael!
Love the techniques presented and can’t wait to experiment more with these tools.
Nice! Your fountain pen drawing came out great.
Hey Michael. I don’t usually write comments on articles as the vast majority of people, but I love your blog and I find it very illustrating and clear. I’m learning step by step to use Paper thanks to you.
Keep it up — your works are of great quality — and thank you.
Thanks John! The encouraging words makes the time I spend on these worth the effort!